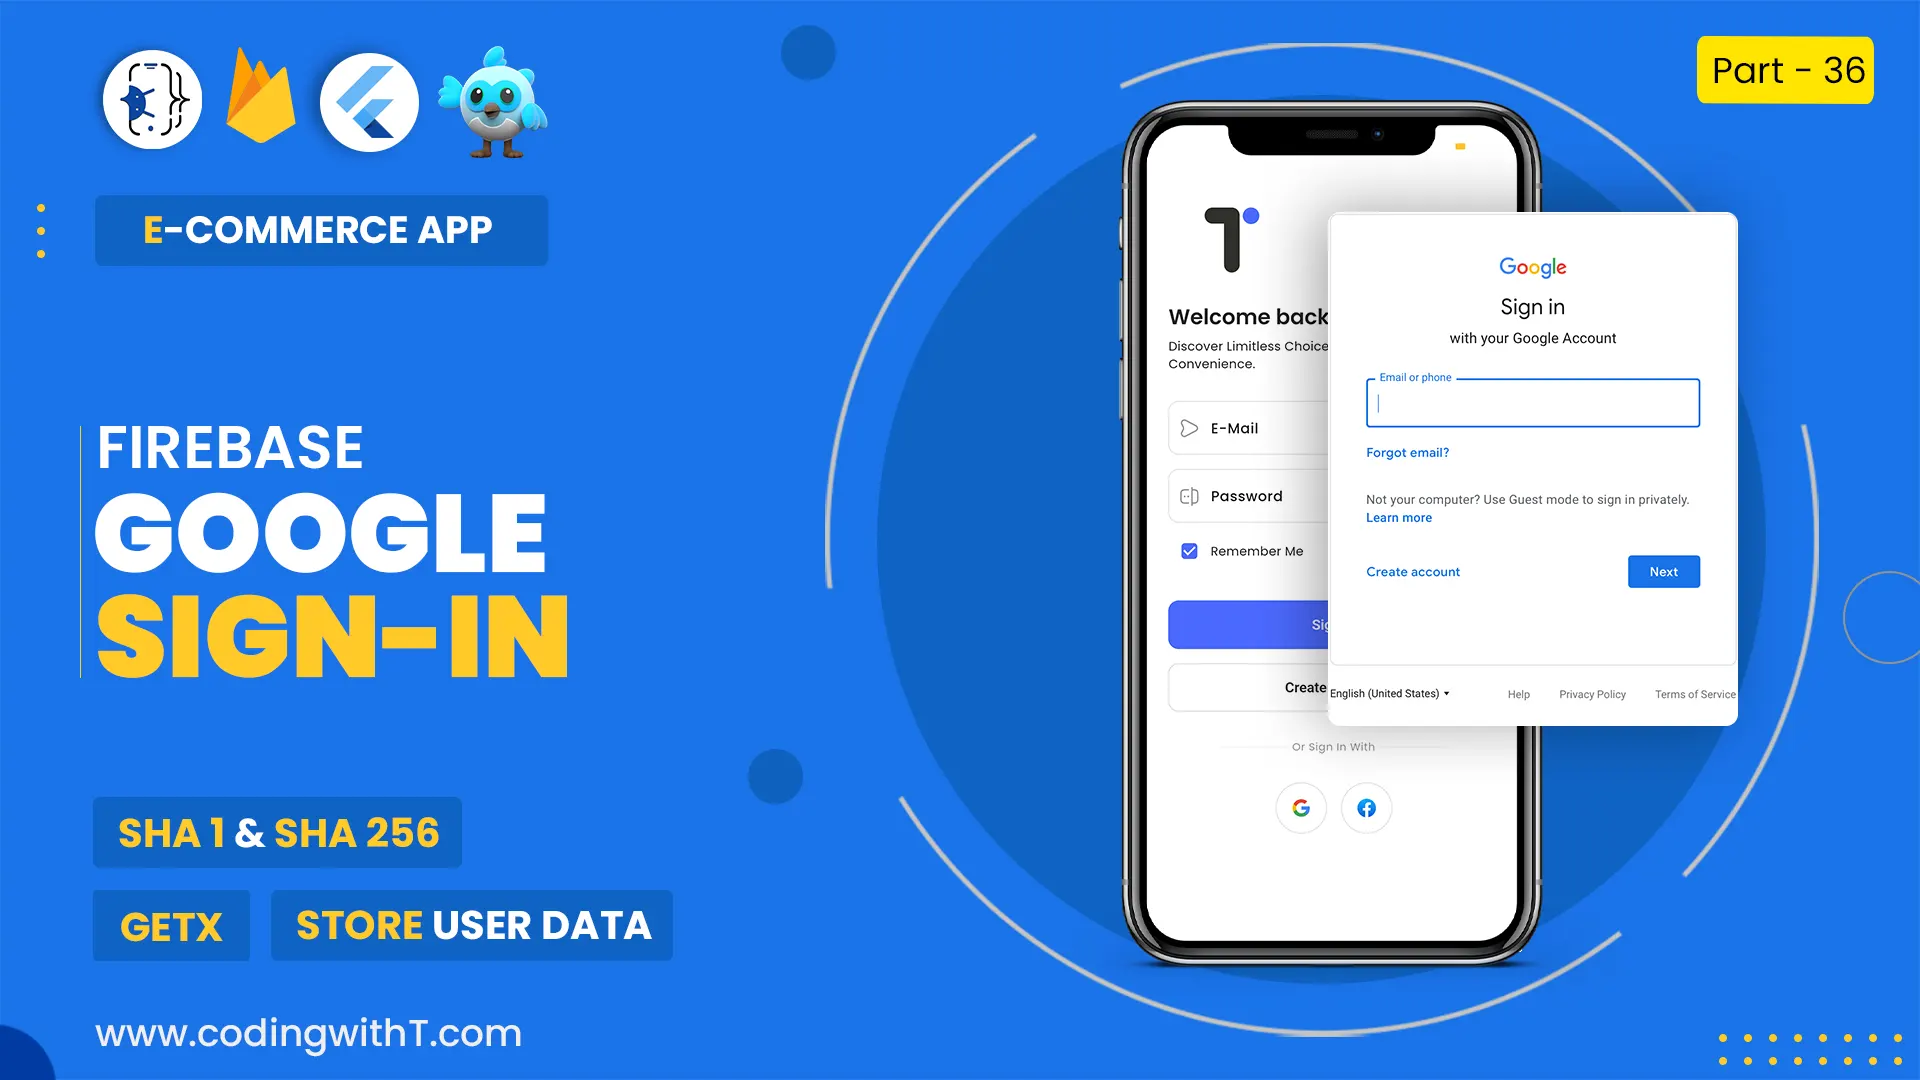
In this flutter firebase tutorial, we will learn flutter firebase phone number authentication and will sent OTP verification SMS to verify.
In this video, we’ll be learning how to create a Flutter Firebase phone number OTP authentication. This will allow us to secure our phone numbers with an OTP verification mechanism.
Flutter is a new mobile development framework that has been gaining a lot of popularity lately. In this video, we’ll be using Flutter to create a Firebase phone number OTP authentication.
So whether you’re a beginner or an experienced developer, be sure to check out this video and learn how to create a Flutter Firebase phone number OTP authentication!
Go to the project folder in the terminal.
Mac keytool -list -v -keystore ~/.android/debug.keystore -alias androiddebugkey -storepass android -keypass android
Windows keytool -list -v -keystore "\.android\debug.keystore" -alias androiddebugkey -storepass android -keypass android
Linux keytool -list -v -keystore ~/.android/debug.keystore -alias androiddebugkey -storepass android -keypass android
OTHER USEFUL LINKS
- Install Android Studio
- Install Flutter
- Create a new flutter app
- Create Folder Structure
- Setup Theme in Flutter for Light & Dark Mode
This is the tutorial of our Flutter Login App Series.
Watch Youtube tutorial
Introduction of flutter firebase phone number authentication
Welcome to our comprehensive guide on implementing Flutter Firebase phone number authentication in your applications. In today’s mobile-driven world, user authentication is a key component of creating safe and reliable apps. Thankfully, Firebase, a powerful mobile development platform, offers a seamless solution through its phone authentication service.
In this step-by-step tutorial, we will walk you through the process of integrating Firebase phone number authentication in Flutter project. Whether you’re a seasoned Flutter developer or just starting your mobile app development journey, this guide will provide you with the knowledge and tools necessary to implement phone authentication effortlessly.
By deploying the powerful Firebase and user-friendly authentication services, you can provide your app users with a reliable and secure login experience using their phone numbers. This strategy not only improves convenience by eliminating the need for traditional passwords, but it also lowers the risk of fraudulent operations.
So, let’s dive into the world of Firebase phone authentication and discover how you can leverage this powerful feature to enhance the security and usability of your Flutter apps.
Overview of Firebase Phone Number Authentication
Firebase Phone Number Authentication is a cool feature provided by Firebase that allows developers to add an easy and secure way for users to verify themselves using their phone numbers in Flutter apps. Instead of remembering complicated passwords, users can just use their phone numbers to verify their identity.
So, what’s great about Firebase Phone Authentication? Well, it makes life easier for users because they don’t have to deal with passwords anymore. They can quickly verify their phone numbers by receiving a special code through a text message. This makes logging in faster and more convenient. And the best part? It’s more secure too because there’s no need to worry about weak passwords or reusing the same password for different apps.
Firebase Phone Authentication works well with other Firebase services too. For example, you can use it together with Firebase Cloud Firestore or Firebase Realtime Database to create powerful and secure user experiences. By combining phone authentication with features like storing user data or personalizing content, you can build really cool and customized apps.
Before we begin
- If you do not have Android Studio you can install it using this tutorial Install Android Studio.
- After installing android studio you have to Install Flutter.
- Now after installing Android and Flutter you have to learn How to set up Firebase in Flutter.
- If you are new to Flutter you have to learn how to Create a new Flutter app.
- Now I recommend you to do Flutter Firebase Authentication.
Implement Flutter Firebase Phone number Authentication
Below is the code how you will authenticate Phone number in firebase.
import 'package:firebase_auth/firebase_auth.dart';
import 'package:get/get.dart';
import 'package:login_flutter_app/src/features/authentication/screens/welcome/welcome_screen.dart';
import 'package:login_flutter_app/src/features/core/screens/dashboard/dashboard.dart';import 'exceptions/login_with_email_and_pssword_failure.dart';
import 'exceptions/signup_email_password_failure.dart';class AuthenticationRepository extends GetxController {
static AuthenticationRepository get instance => Get.find();//Variables
final _auth = FirebaseAuth.instance;
late final Rx<User?> firebaseUser;//Will be load when app launches this func will be called and set the firebaseUser state
@override
void onReady() {
firebaseUser = Rx<User?>(_auth.currentUser);
firebaseUser.bindStream(_auth.userChanges());
ever(firebaseUser, _setInitialScreen);
}/// If we are setting initial screen from here
/// then in the main.dart => App() add CircularProgressIndicator()
_setInitialScreen(User? user) {
user == null ? Get.offAll(() => const WelcomeScreen()) : Get.offAll(() => const Dashboard());
}//FUNC
Future<String?> createUserWithEmailAndPassword(String email, String password) async {
try {
await _auth.createUserWithEmailAndPassword(email: email, password: password);
firebaseUser.value != null ? Get.offAll(() => const Dashboard()) : Get.to(() => const WelcomeScreen());
} on FirebaseAuthException catch (e) {
final ex = SignUpWithEmailAndPasswordFailure.code(e.code);
return ex.message;
} catch (_) {
const ex = SignUpWithEmailAndPasswordFailure();
return ex.message;
}
return null;
}Future<String?> loginWithEmailAndPassword(String email, String password) async {
try {
await _auth.signInWithEmailAndPassword(email: email, password: password);
} on FirebaseAuthException catch (e) {
final ex = LogInWithEmailAndPasswordFailure.fromCode(e.code);
return ex.message;
} catch (_) {
const ex = LogInWithEmailAndPasswordFailure();
return ex.message;
}
return null;
}Future<void> logout() async => await _auth.signOut();
}
class SignUpFormWidget extends StatelessWidget {
const SignUpFormWidget({
Key? key,
}) : super(key: key);@override
Widget build(BuildContext context) {
final controller = Get.put(SignUpController());
final formKey = GlobalKey<FormState>();return Container(
padding: const EdgeInsets.symmetric(vertical: tFormHeight - 10),
child: Form(
key: formKey,
child: Column(
crossAxisAlignment: CrossAxisAlignment.start,
children: [
TextFormField(
controller: controller.fullName,
decoration: const InputDecoration(label: Text(tFullName), prefixIcon: Icon(Icons.person_outline_rounded)),
),
const SizedBox(height: tFormHeight - 20),
TextFormField(
controller: controller.email,
decoration: const InputDecoration(label: Text(tEmail), prefixIcon: Icon(Icons.email_outlined)),
),
const SizedBox(height: tFormHeight - 20),
TextFormField(
controller: controller.phoneNo,
decoration: const InputDecoration(label: Text(tPhoneNo), prefixIcon: Icon(Icons.numbers)),
),
const SizedBox(height: tFormHeight - 20),
TextFormField(
controller: controller.password,
decoration: const InputDecoration(label: Text(tPassword), prefixIcon: Icon(Icons.fingerprint)),
),
const SizedBox(height: tFormHeight - 10),
SizedBox(
width: double.infinity,
child: ElevatedButton(
onPressed: () {
if(formKey.currentState!.validate()) {
// SignUpController.instance.registerUser(controller.email.text.trim(), controller.password.text.trim());
SignUpController.instance.phoneAuthentication(controller.phoneNo.text.trim());
Get.to(() => const OTPScreen());
}
},
child: Text(tSignup.toUpperCase()),
),
)
],
),
),
);
}
}
import 'package:flutter/material.dart';
import 'package:get/get.dart';import '../../../repository/authentication_repository/authentication_repository.dart';
class SignUpController extends GetxController {
static SignUpController get instance => Get.find();//TextField Controllers to get data from TextFields
final email = TextEditingController();
final password = TextEditingController();
final fullName = TextEditingController();
final phoneNo = TextEditingController();/// This func will be used to register user with [EMAIL] & [Password]
void registerUser(String email, String password) {
String? error = AuthenticationRepository.instance.createUserWithEmailAndPassword(email, password) as String?;
if (error != null) {
Get.showSnackbar(GetSnackBar(message: error.toString()));
}
}//Get phoneNo from user (Screen) and pass it to Auth Repository for Firebase Authentication
void phoneAuthentication(String phoneNo) {
AuthenticationRepository.instance.phoneAuthentication(phoneNo);
}
}
class OTPController extends GetxController {
static OTPController get instance => Get.find();void verifyOTP(String otp) async {
var isVerified = await AuthenticationRepository.instance.verifyOTP(otp);
isVerified ? Get.offAll(const Dashboard()) : Get.back();
}}
6 – Clean Code
To keep code clean, manageable, and readable we use State Management. Therefore we are using GETX State management to follow the seperation of concern principle.
Hence, we have design in Screens Folder and it has nothing to do with backend logic. Backend logic only deals with logic of the screen and not performing Database Queries. Authentication and User Repositories are only dealing with Firebase authentication and Firebase Firestore database.
Conclusion
Congratulations! You’ve reached the end of our comprehensive guide on implementing Firebase phone authentication in Flutter. By now, you should have a solid understanding of how Firebase Phone Authentication works and how to integrate it into your Flutter applications seamlessly.
We explored the power and convenience of Firebase Phone Authentication, which allows users to verify their identity using their phone numbers, eliminating the need for complex passwords. With a simple SMS code verification process, users can enjoy a faster and more user-friendly login experience.
By leveraging Firebase Phone Authentication, you’ve taken a big step towards building secure and trustworthy apps. Users can rest assured knowing that their data is protected, and you can focus on creating engaging user experiences without the burden of password management.
Remember to apply the best practices we discussed throughout the tutorial. Enhance the user experience by implementing features like automatic verification, custom UI, and error handling. And don’t forget to explore advanced topics such as user persistence and integration with other Firebase services to unlock even more possibilities for your apps.
As you continue your mobile app development journey, Firebase will remain a valuable tool in your arsenal. It offers a wide range of features beyond authentication, including analytics, cloud storage, and real-time database capabilities. So keep exploring and discovering how Firebase can elevate your app development process.
Thank you for joining us on this learning journey. We hope this guide has empowered you to build secure, user-friendly Flutter applications with Firebase Phone Authentication. Now it’s time to put your knowledge into action and create amazing mobile experiences that users will love.
Happy coding and best of luck with your future app development endeavors!


